The road to nirvana |
|
My journey into Photography, Horology, and Audiophilia |

Custom Search
DIY Speakers
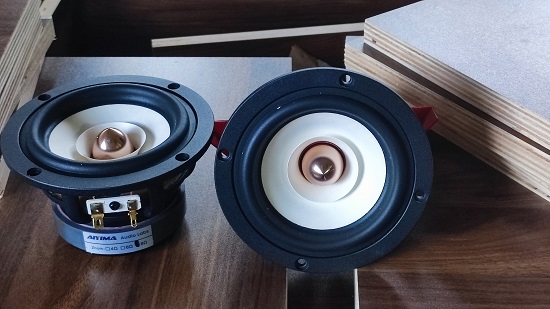
10-liter bass reflex cabinet for the AIYIMA 4" single driver
August 3, 2023
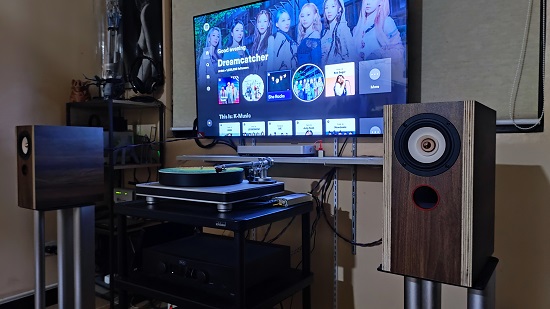
The Bluetooth speaker used in my desktop died recently and I saw an opportunity to build a pair of desktop speakers and use the idling SMSL Q5 PRO digital amplifier to play music again.
Recycled pallets
I've been using recycled pallets for a few CNC projects when my Snapmaker A250 was new. These are 18mm thick and about 140mm wide which is just right for a small cabinet of 10-liters in volume. I used WinISD to create the simulation and determine the port size and length which is pretty straightforward.
Using Fusion 360, I created a model of the speaker box, and since the intended use is for near-field desktop, I placed the port in front.
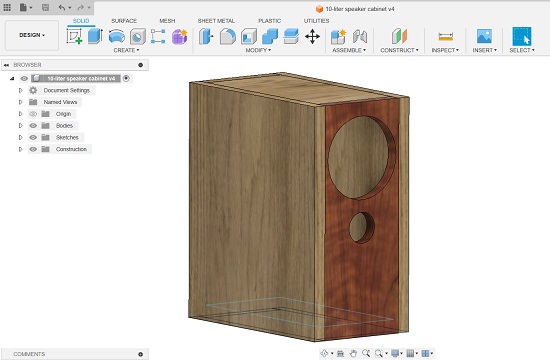
- 4 pieces 130mm x 336mm (front/back)
- 4 pieces 130mm x 260mm (top/bottom)
- 4 pieces 336mm x 296mm (sides)
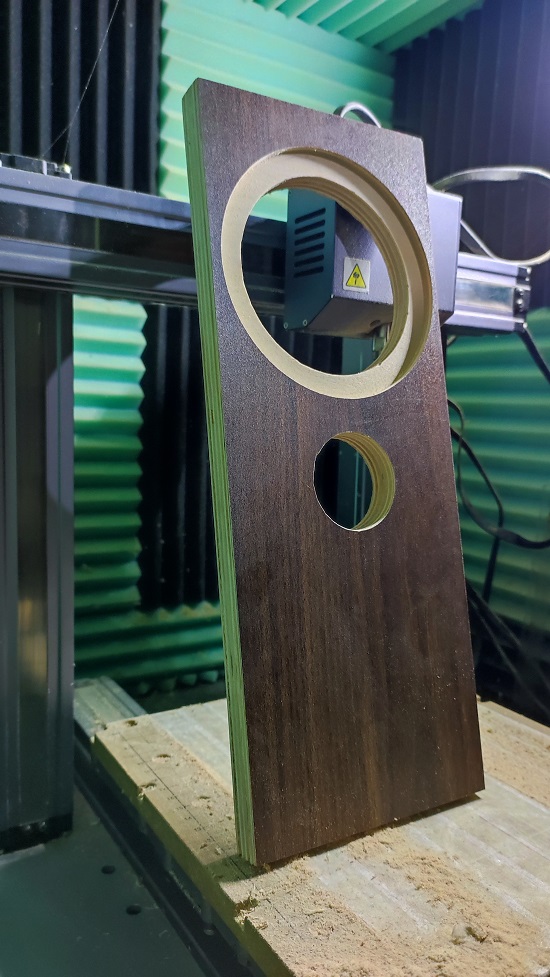
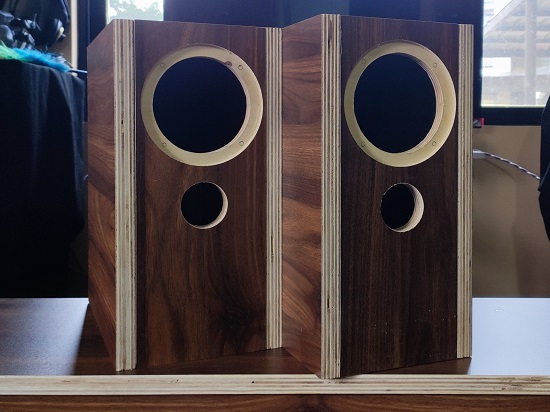
 The front panel is milled with the Snapmaker A250 and this time, no
mishaps occured.
The front panel is milled with the Snapmaker A250 and this time, no
mishaps occured.
 Bond... Titebond
So yes, I glued them all together using Titebond, and of course
clamps. This time no clamps failed!
Bond... Titebond
So yes, I glued them all together using Titebond, and of course
clamps. This time no clamps failed!
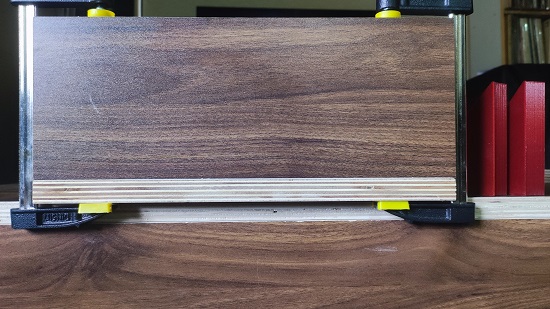
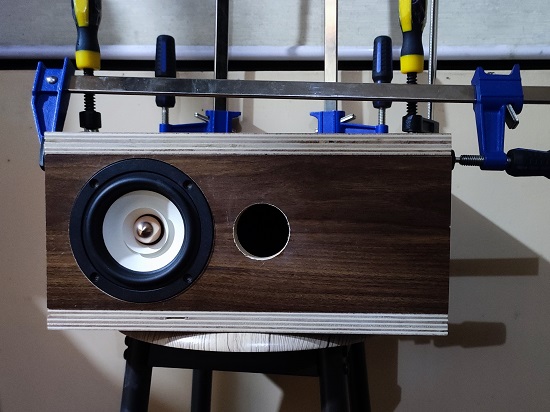 I like how it turned out, sanding will be the next step.
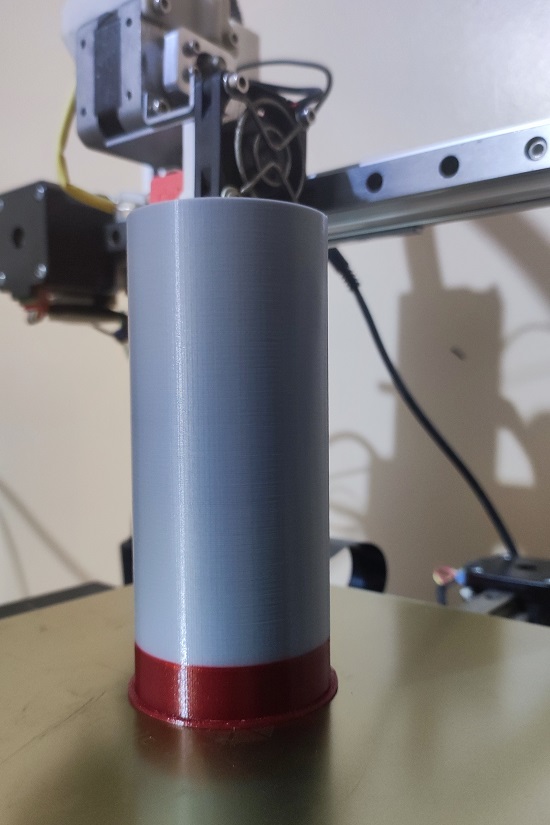
 The port tube is 45mm in diameter and 134mm in length, as calculated
by WinISD. The Cetus Mk3 3D printer is suitable for this job. I
wanted the burgundy color but I'm short on filament so only the
first 60 layers in burgundy and the rest in boring silver color.
The port tube is 45mm in diameter and 134mm in length, as calculated
by WinISD. The Cetus Mk3 3D printer is suitable for this job. I
wanted the burgundy color but I'm short on filament so only the
first 60 layers in burgundy and the rest in boring silver color.
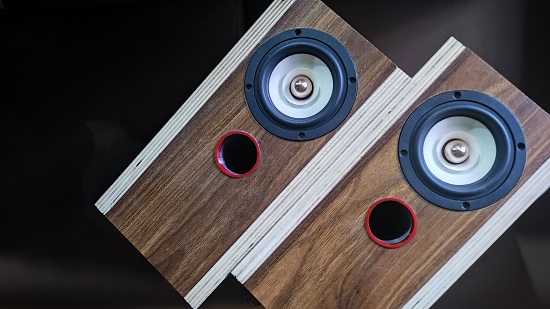
 Test fit of tubes and drivers for hole marking and drilling.
 It's now time to install the binding posts and secure the internal
wiring. These binding posts are screw type so it was easy securing
the IXOS 6006 Gamma Geometry speaker wires that are left over from a previous project.
Finally, taping the FIBERFILL on all sides except the front.
It's now time to install the binding posts and secure the internal
wiring. These binding posts are screw type so it was easy securing
the IXOS 6006 Gamma Geometry speaker wires that are left over from a previous project.
Finally, taping the FIBERFILL on all sides except the front.
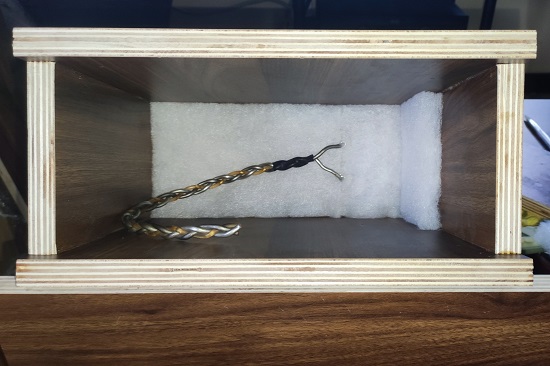 After 48 hours, I started cutting and test fitting the acoustic
foam. Based on the specifications, the acoustic foam is applied only
to the top and rear panels but I also intend to line up the side
panels with the polyester fiber.
After 48 hours, I started cutting and test fitting the acoustic
foam. Based on the specifications, the acoustic foam is applied only
to the top and rear panels but I also intend to line up the side
panels with the polyester fiber.
 Sound check
TBD
Materials used
Here's the list of materials to complete this project.
Sound check
TBD
Materials used
Here's the list of materials to complete this project.- AIYIMA 4" 8 ohm drivers
- 18mm marine ply
- Heavy duty binding posts
- Old IXOS 6006 Gamma Geometry speaker wires
- 3D printed 45mm diameter port pipe
- Polyester fiber fill ½" thickness
- Titebond III wood glue
- Tapes. Masking tape, double adhesive tape.
- Snapmaker 2 A250 3-in-1 modular system
- Cetus 3D Mk III 3D printer (discontinued)
- Various clamps
- Double edged saw for the angled edge cuts
- Round file, wide flat file
- Sanding blocks