The road to nirvana |
|
My journey into Photography, Horology, and Audiophilia |

Custom Search
DIY Speakers
Voigt Pipe cabinet for the Mark Audio Pluvia7 PHD
August 4, 2023
The success of the bass-reflex cabinet for the Cube Audio F8 Magus and the curiosity about the sonic capabilities of the Mark Audio drivers lead me to this project.
My first Voigt Pipe
I've known and listened to various Voigt Pipe designs and build decades ago but their shapes and sizes do not interest me. Looking at the different cabinet designs in the web, I got interested with the DDVP-10 by spc.jpn.org
Th size is just perfect, as tall as my bass-reflex Cube Audio F8 Magus, and about half the width. I will be able to set both side by side.
I contacted my usual source for 18mm veneered plywood and submitted the cutlist for a pair of DDVP-10 which you can also find here.
The drivers I chose the Asian Edition (paper cone), the Mark Audio PLUVIA 7 PHD from Sound Imports. I highly recommend this company for your DIY needs.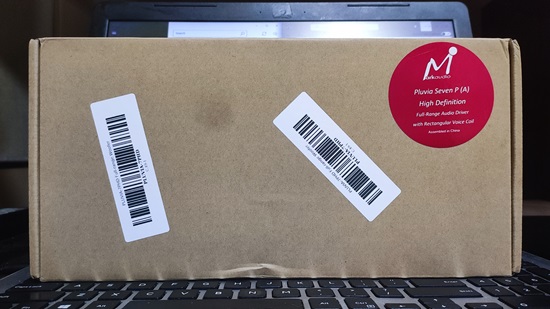
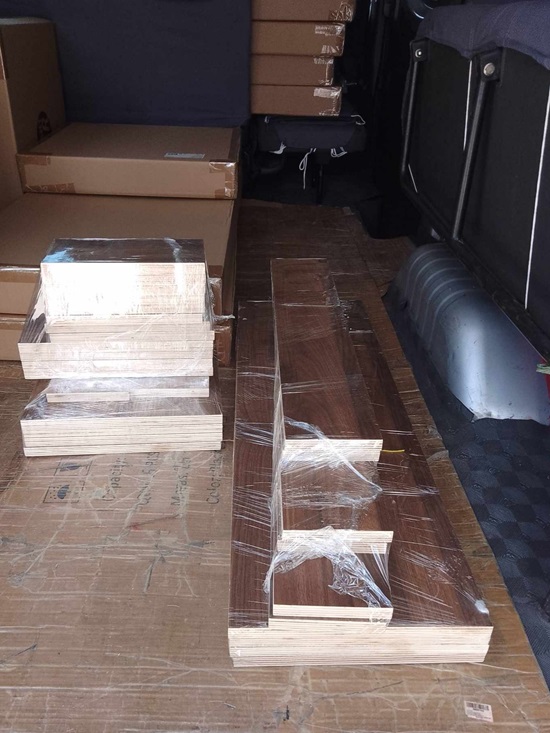
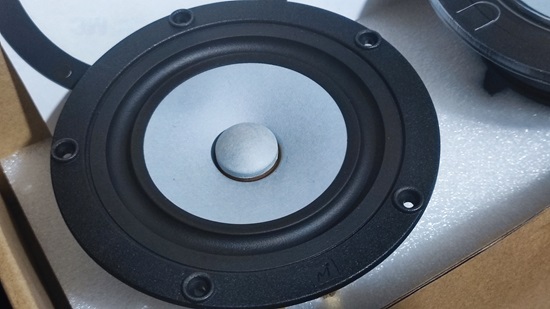 Boards, boards, boards...
For this project, I chose the 18mm thick American Mahogany
plyboards. Their dark color attracted me and they look good as they
arrived from my supplier
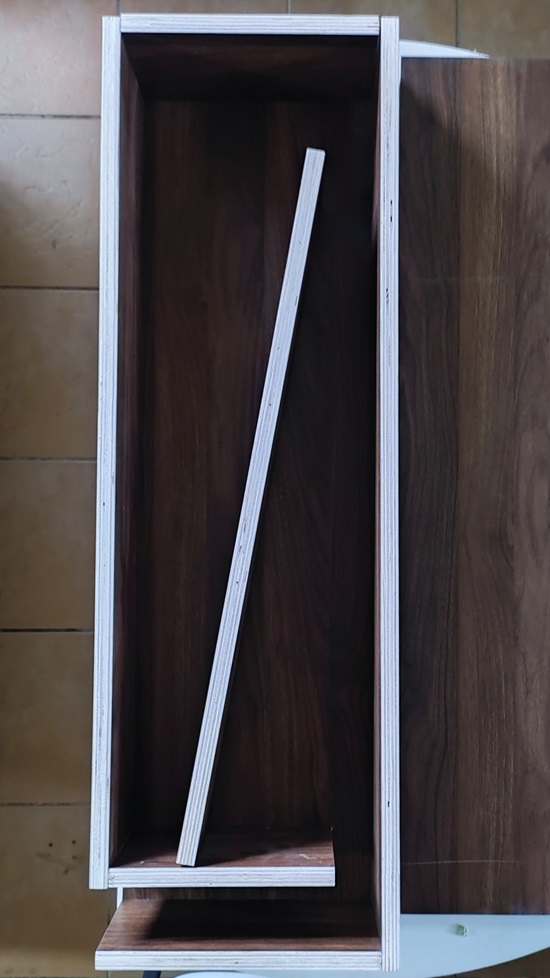
 This is the mock up of how it will be assembled. Up next is to run
the CNC code on my Snapmaker A250 for the speaker hole.
 CNC ala Snapmaker
Why not? It's doing what it's supposed to do and make my life easier
and more enjoyable. This is now a routine for me, Fusion 360 for
design and Snapmaker A250 to execute what I need.
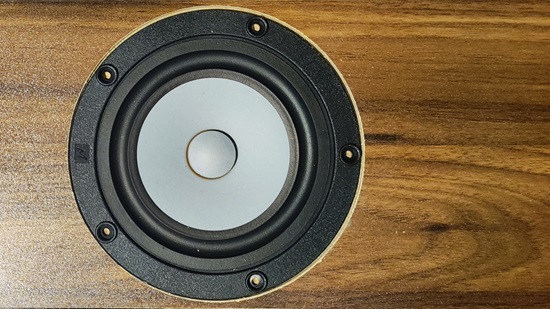
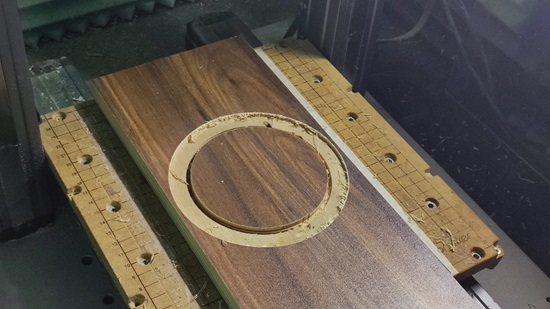 Unlike the Cube Audio F8 Magus, the Pluvia 7 is flushed to the front
panel and is nicely done with the Snapmaker A250.
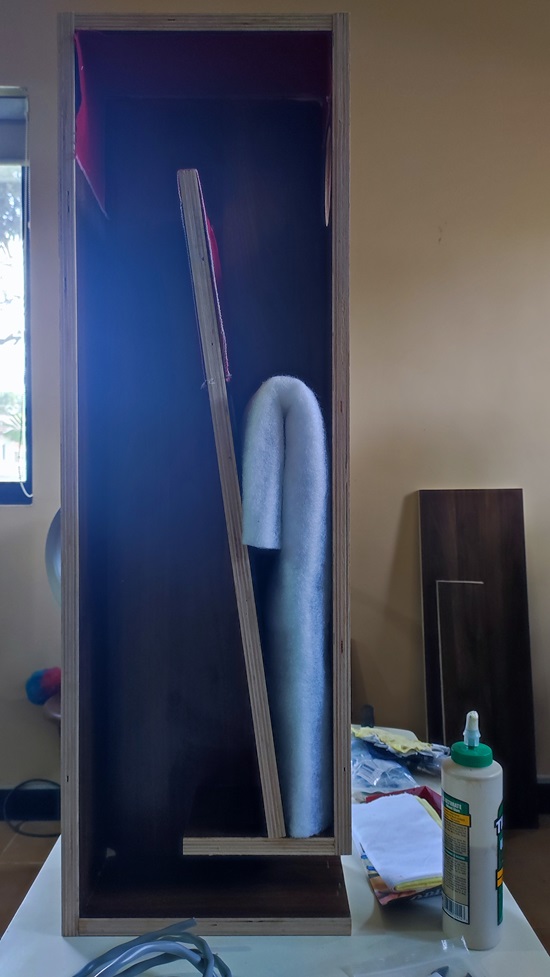
 As instructed, felt wool on the upper portion, and polyester wool
behind the front panel.
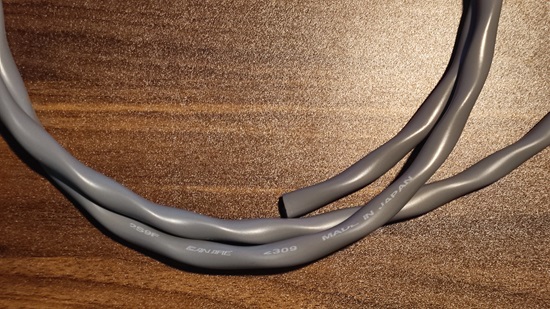
 I ordered a meter of Canare 2S9F for the internal wiring. For the
binding posts, I bought these heavy duty rhodium-plated copper 45mm
binding posts.
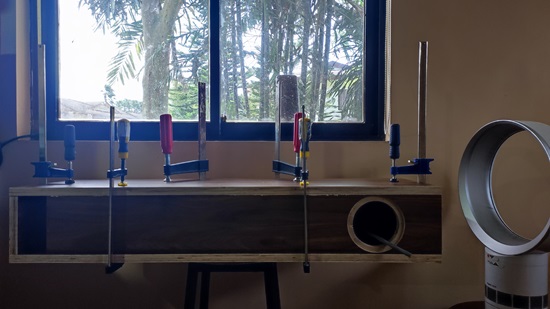
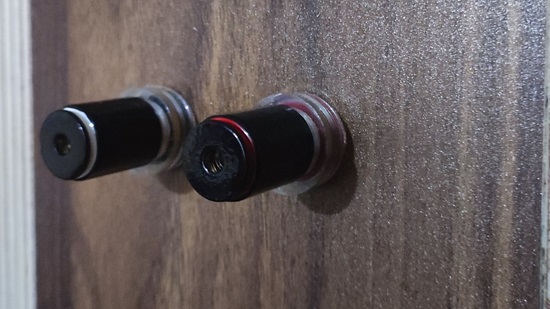 All I need now is at least two days for the glue to cure and I will
hear how good (or bad) this project is.
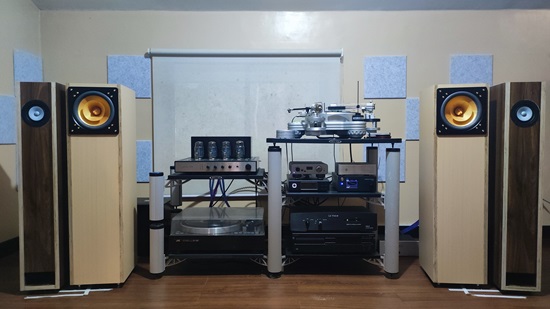 Sound check
The Mark Audio Pluvia 7 PHD offers a different presentation compared
to the Cube Audio F8 Magus, both of which are paper cone drivers. I
want to attribute the sonic characteristic to the box being a folded
horn/Voigt pipe, but I may be making wild assumptions.
The perceived bass produced by the DDVP-10 x Pluvia 7 PHD is
enjoyable and fools my brain into thinking that I really hear plenty
of bass. Not only that, BABYMETA, Nightwish, and many of the same
genre albums sound really good even at low volumes (I play music no
more than 80dB).
Measurements
I took some measurement using the UMIK-1 calbrated microphone and
here are some of them.
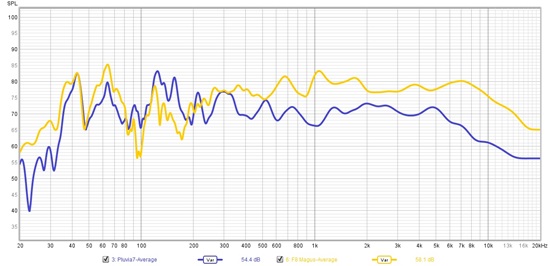
Compared to the Cube Audio F8 Magus
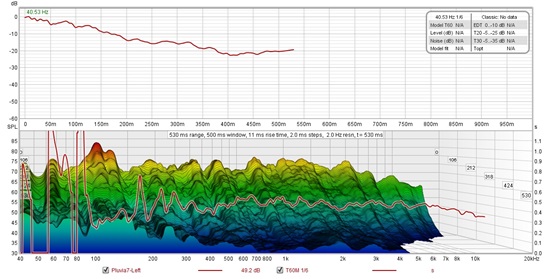
RT60 Decay - left
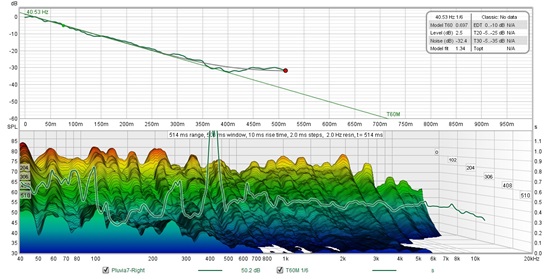
RT60 Decay - right
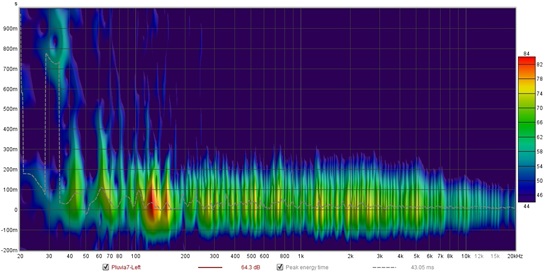
Spectrogram - left
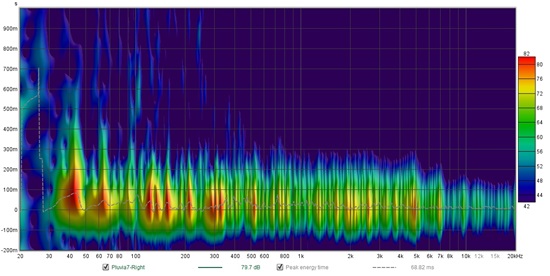
Spectoram - right Materials used Here's the list of materials to complete this project.
- Mark Audio Pluvia 7 PHD 4" 8 ohm drivers
- 18mm marine ply
- Heavy duty binding posts
- Canare 2S9F wire
- Polyester fiber fill ½" thickness
- Titebond III wood glue
- Tapes. Masking tape, double adhesive tape.
- Snapmaker 2 A250 3-in-1 modular system
- Various clamps
- Round file, wide flat file
- Sanding blocks