The road to nirvana |
|
My journey into Photography, Horology, and Audiophilia |
Post-processing: Cloning
Workflow
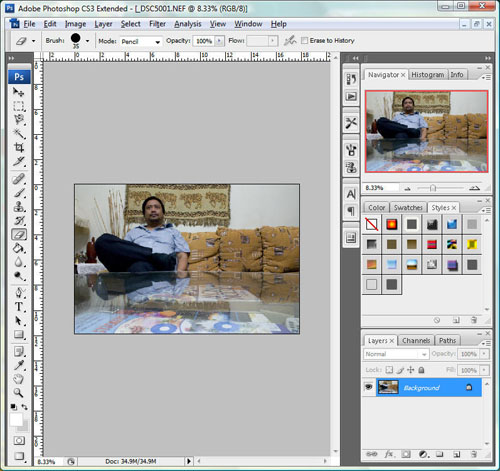
1. Open the first photo in the series.
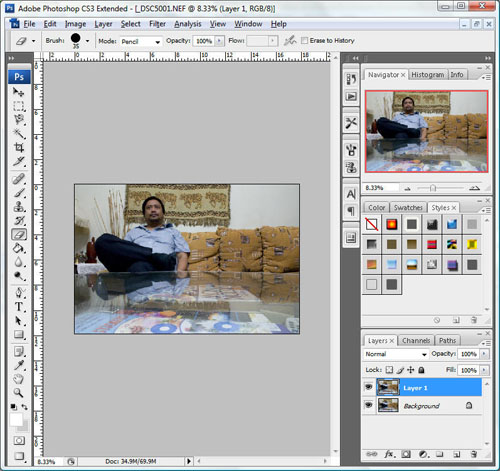
2. Create a new layer using CTRL-J. It will be called Layer 1.
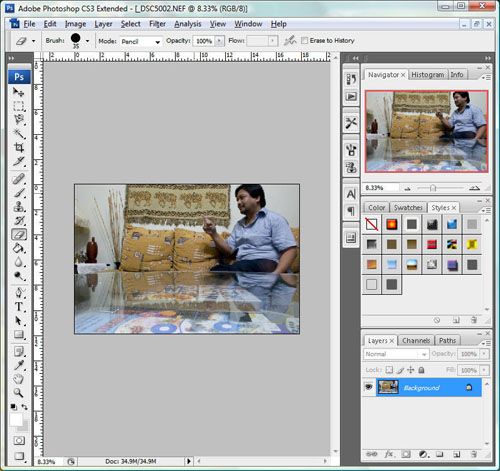
3. Open the second photo in the series.
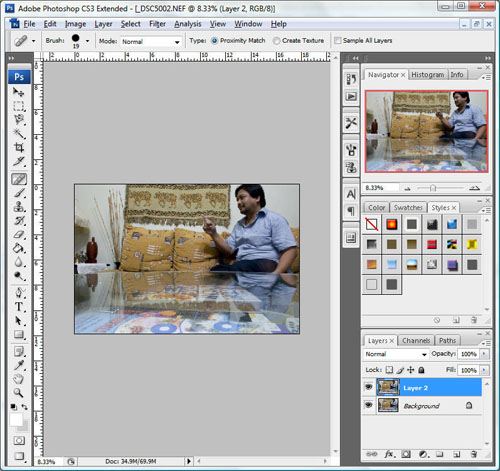
4. Create another layer using CTRL-J, it will be called Layer 1 again and for clarity, we will rename this to Layer 2.
5. Now the trick to this effect is stacking the layers, so we will duplicate the layer and change the image to the first one.
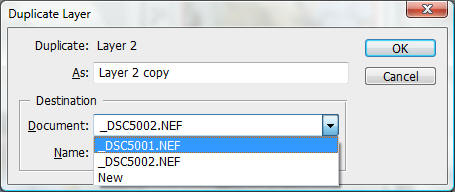
6. Now switch back to the first image and you'll see Layer 2 on top of Layer 1.
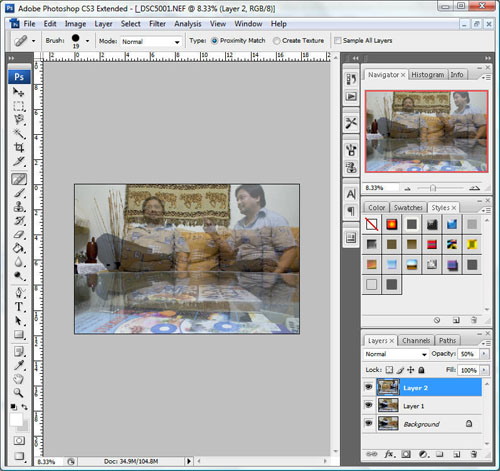
7. Next, we need to expose the subject of Layer 1 on the Layer 2. You can change the opacity to 50% to see them overlaid.
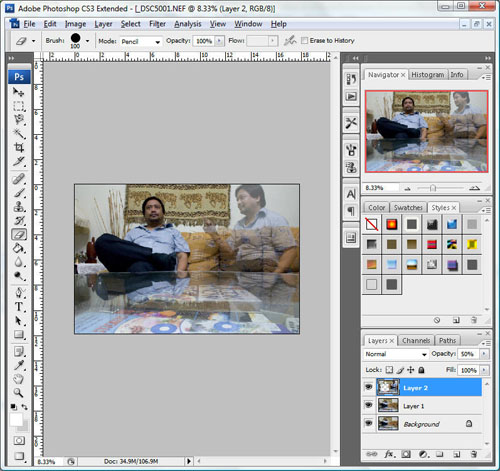
8. So let's expose the subject using the Eraser tool
9. Nice huh. Now change the opacity of Layer 2 back to 100% so that you can see to total effect.
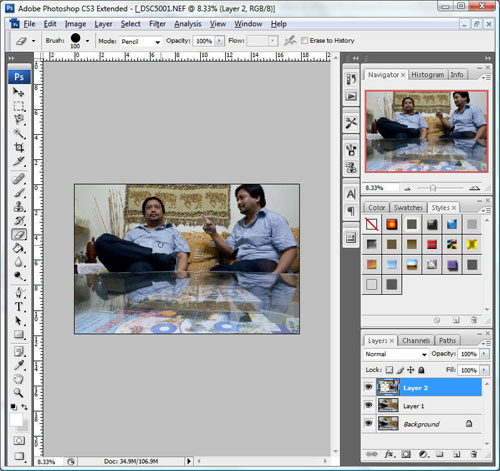
10. We're done. Simply flatten the image using Layer->Flatten Image

11. Save your cloned photo!