The road to nirvana |
|
My journey into Photography, Horology, and Audiophilia |
Post-processing: Pop-out
Workflow
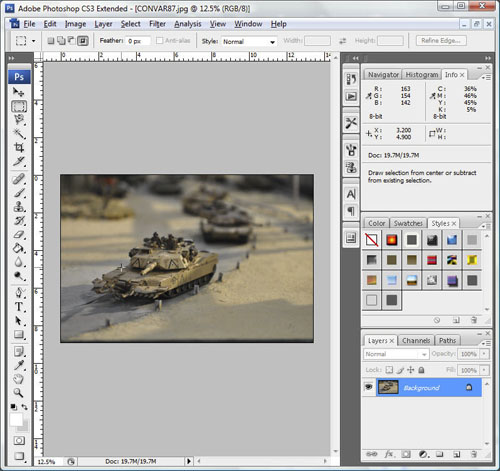
1. Open the photo of your choice.
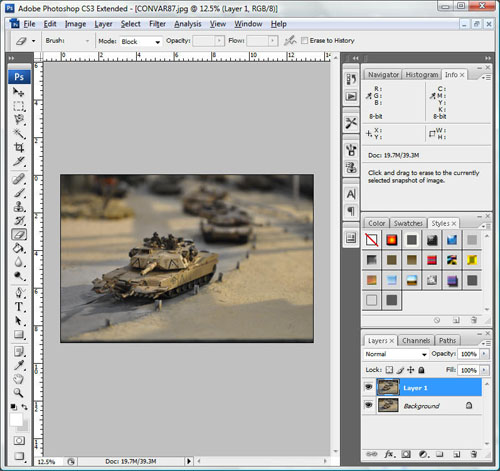
2. Create a new layer using CTRL-J. It will be called Layer 1, select it.
3. Add a blank layer in between the Background and Layer 1. You can move the layer to the appropriate place if you screw it up.
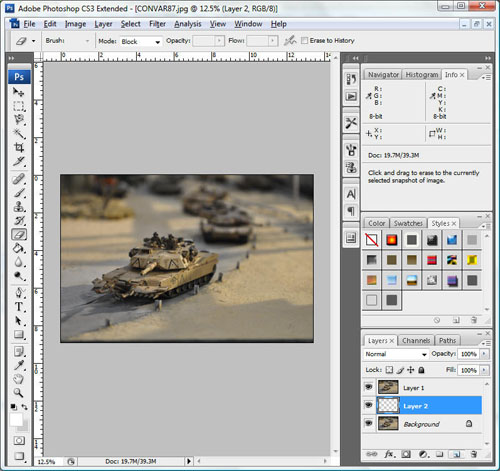
4. Fill new layer with white
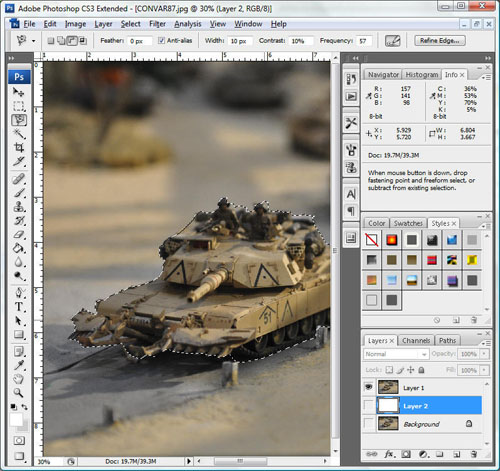
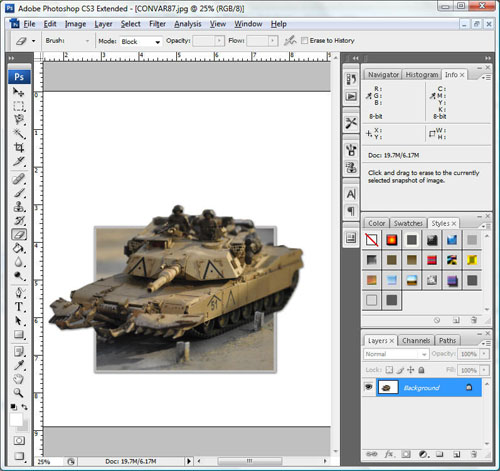
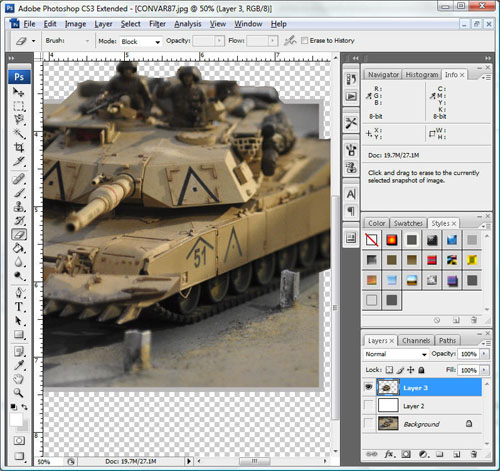
5. Use whatever tool you are comfortable with to select the outline of the object you want to pop-out. I use the Magnetic Lasso Tool on this example.
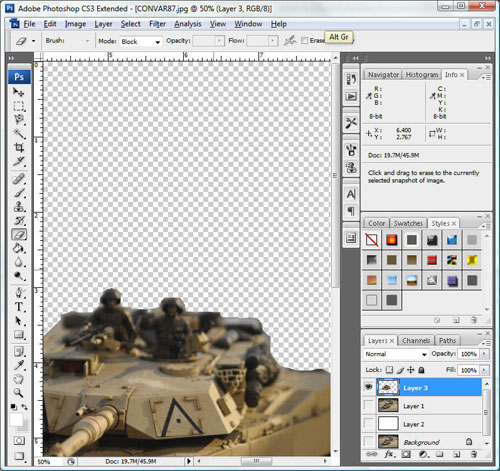
6. Press CTRL-J to copy the selected area into another layer. In this case, it will be called Layer 3. Make Layer 3 the only visible layer and do clean up.
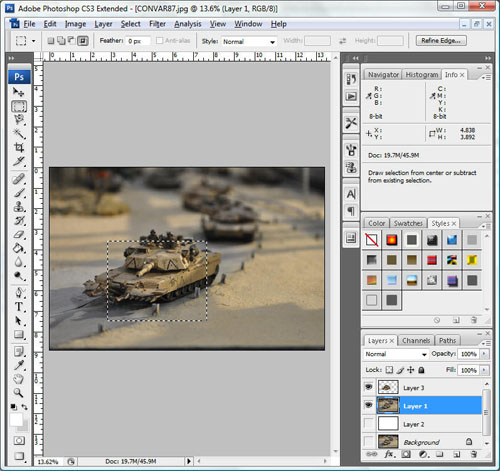
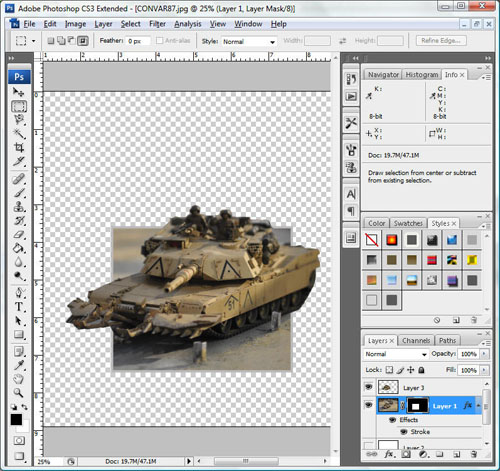
7. Select Layer 1 back and draw a rectangle (Rectangular Marquee Tool) over the area you also want to keep.
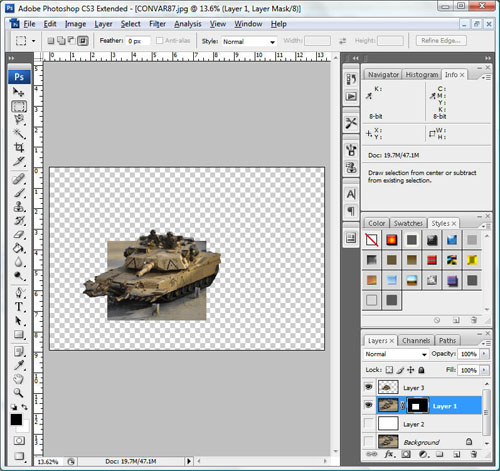
8. Add a layer mask. You will now see the image "pop-out".
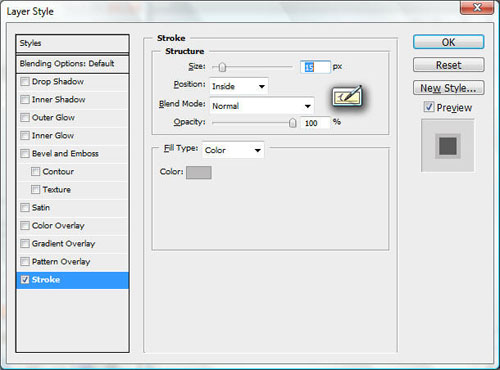
9. Add a Stroke to Layer 1 to simulate a border.
10. Merge the two layers, Layer 1 and Layer 3.
11. Add a drop shadow to the resulting layer, Layer 3.

12. Flatten the image using Layer->Flatter Image