The road to nirvana |
|
My journey into Photography, Horology, and Audiophilia |
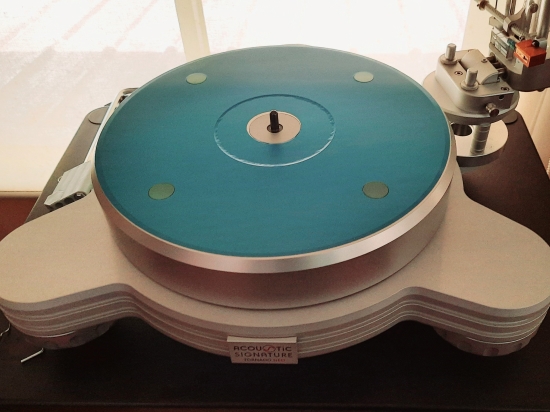
The Acoustic Signature Tornado NEO turntable, my end game?
January 16, 2021
My JVC QL-Y66F has an anti-skate problem that has worsen thru the years so I decided it's time to let it go and look for a replacement. The plan was to keep my Clearaudio Performance DC as the primary turntable and the new acquisition is the secondary that will be in the living room.
The following brands/models were considered:
- MoFi StudioDeck
- Gold Note Pianosa
- Acoustic Signature Primus and Maximus
- Clearaudio Concept
- VPI Cliffwood
It would make sense buying another Clearaudio but I'd like to experience another brand. The Pianosa and Maximus are both more expensive than the Performance DC and were thrown in for comparison. After months of agony and research, I decided to get the Primus.
June 1, 2021
It turned out my research was lacking as I found out that the armboard hole is too small to fit the Clearaudio Verify tonearm that I'm using off-board with the Performance DC. I could wreck the brand new plinth and make a bigger hole but common sense tells me to make a new armboard and fit the Clearaudio TT-3 instead. After a few minutes with Fusion 360 and several prototypes, I came up with a custom armboard for the Primus that fits the TT-3 perfectly!
I love what I hear from combining the two German components and the Primus became my primary turntable, relegating the Performance DC (now with the Verify tonearm) to the living room.
The experience with Acoustic Signature was so delightful that I decided to upgrade to the last turntable I will buy. My wallet whispered to me that the entry-level in the Stormy siblings, that is Tornado NEO, fits the budget and the requirements.
Why the Tornado NEO?
I've been a fan of the Clearaudio's unique technologies for decades, in particular the magnetic system (CMB bearing system for spindle and magnetic bearing for tonearms). I am very comfortable with them but I'm not closing the doors to other implementations.
The Tornado NEO features the following:
- Dura Turn Diamond® Bearing (DTD®), that replaced the Tidorfolon® of the previous models and perhaps the most important to me.
- AVC (Automatic Vibration Control, that ensures a drastic reduction in vibrations, especially with multi-motor concepts. The Tornado NEO being entry-level has one AC motor only.
- CLD (Constraint Layer Damping) technology is what they refer to as the Silencer technology. The Tornado NEO has the least number (four) of Silencers.
- DMC-10 power supply
- One set armboard, SME-style
All the aforementioned technologies are detailed in the manufacturer's website https://www.acoustic-signature.com/technology/
I get all these technological features for about €5,000 (web list price, no tonearm, no cartridge included) so it's a no brainer for me.
August 5, 2021
Unpacking
At 26.5kg for the turntable alone, the double box is very heavy for my beer-bellied body to wrestle but I was able to get it inside the house and start the unpacking ritual. The packaging is excellent and components are placed in layers.
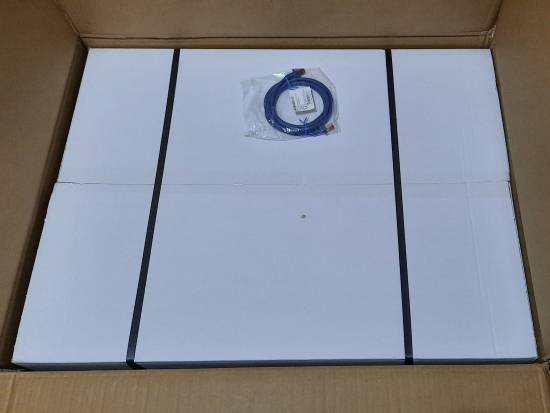
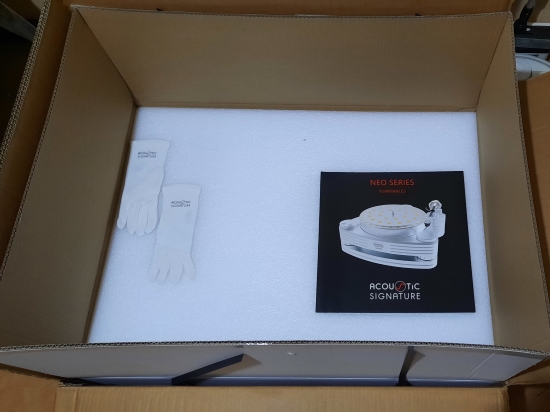
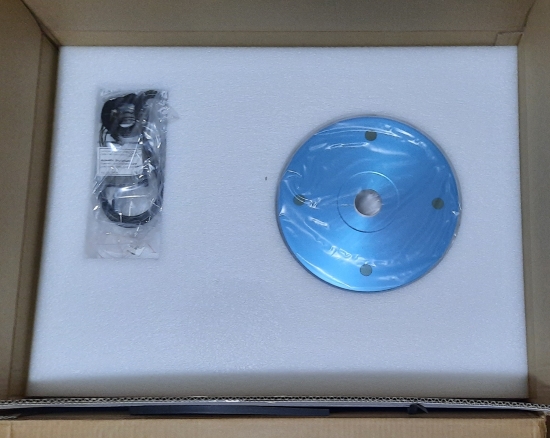
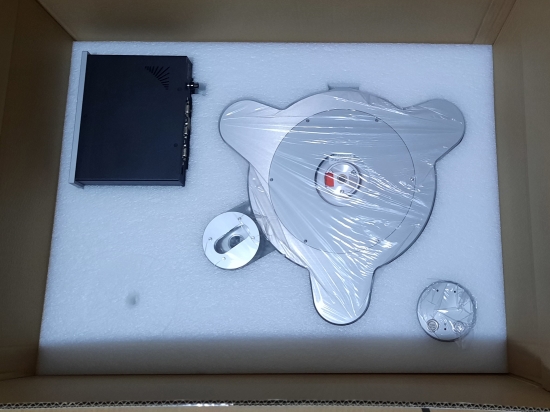
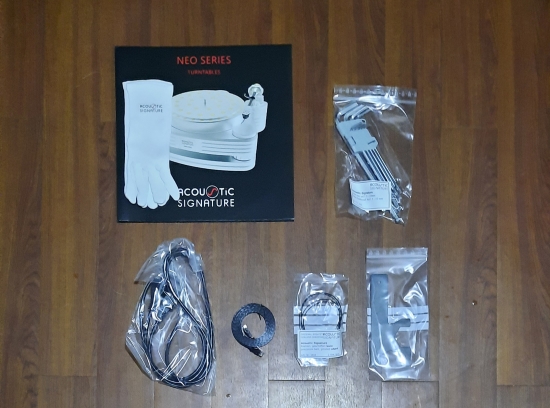
- Outside the inner box is a blue junction connector
- On the top cover the manual and a pair of gloves are visible
- The second layer reveals the 11kg platter and accessories in their own well
- The third layer reveals the plinth and pre-installed armboard, the contol panel, sub-platter, and the DMC-10 power supply
Armboards and tonearms
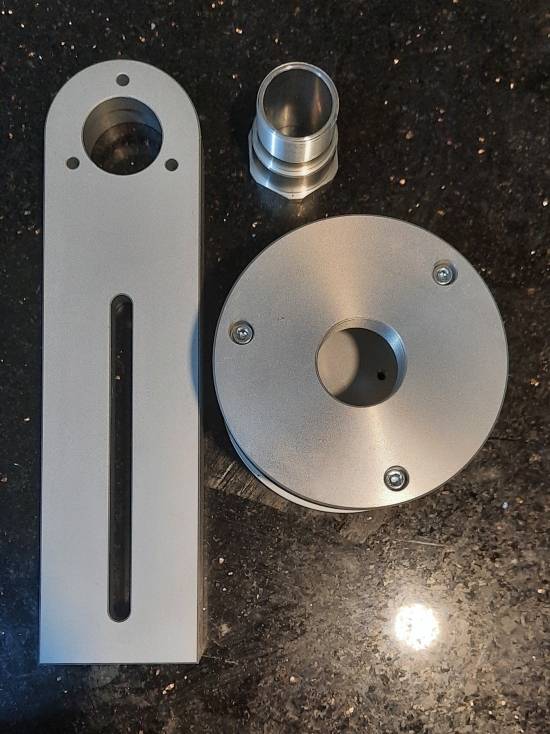
The armboard system of the Tornado NEO is made up of different parts, some of which are not named in the manual so I'm going to name them myself. First, there is an "armbase" which is secured under the turntable by a big M8 x 20 screw. The long slit, allows the "armbase" to move inwards or outwards to accommodate long pivoted arms like the 12" versions.
On the other end of the arm, you need to mount the elevated armboard by first assembling the "base" and the 3 pieces of 35mm "spacers" to the "armboard" itself. There are 3 pieces M4 x 50 screws to secure all these parts. On the previous photo, you will see the assembled armboard upside down, where the Clearaudio tangential armboard is attached.
Surprisingly, the mounting dimensions of the stock Clearaudio tangential armboard is an exact fit for the pillars of the Tornado NEO.
The armboard assembly is then fastened to the "armbase" via the "central screw" using the supplied special wrench.
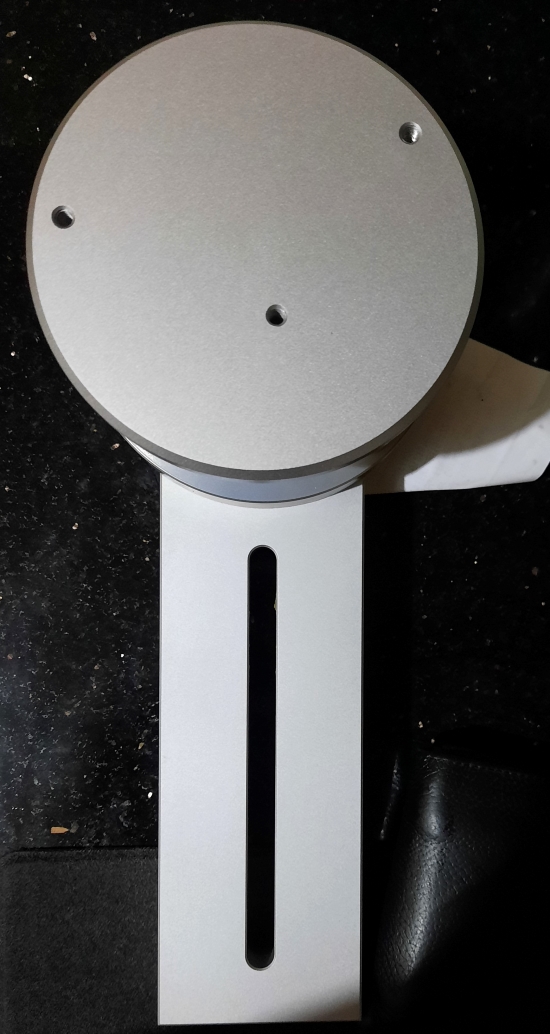
I worked on the armboard assembly first before dealing with the subplatter and platter installation because they're heavy and will impede manouverability. Here is the Tornado NEO with the Clearaudio TT3 tonearm mounted.
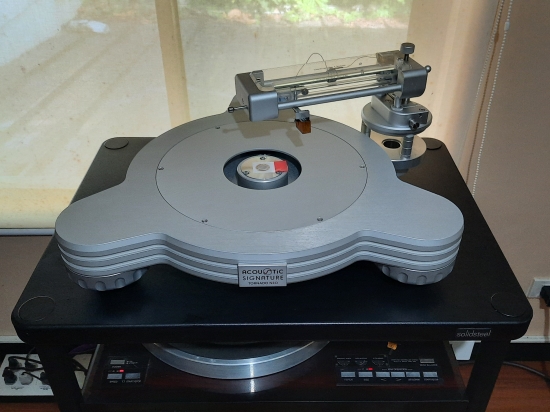
Setup
It is now time to install the subplatter and platter. Removing the motor cover requires removal of six (6) mounting screws using size 2 allen key. Set the screws and mounting cover aside. The single motor is revealed and I'm now ready to install the subplatter.
.jpg)
After removing the cover strip protecting the bearing hole, very carefully insert the subplatter into the bearing hole making sure not to drop it.
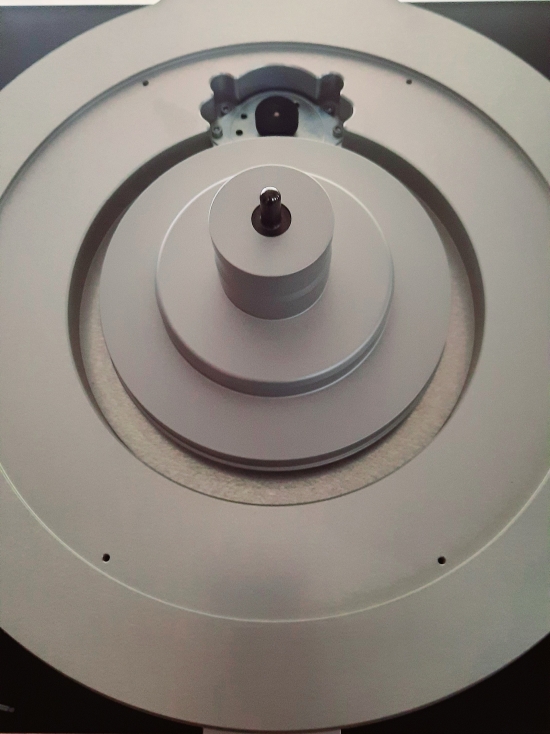
Once the subplatter is inserted and secured, please take a moment to appreciate the precise tolerance of this engineering marvel. The dual belt is installed next.
Loop the first belt into the lower groove of the pulley and the subplatter, followed by the second belt looped on the top groove of the pulley and the subplatter.
Put the motor cover back into place and secure it with the six (6) mounting screws.

With the motor cover secured, I carefully inserted the platter into the spindle. Now this takes extra care as the platter weighs in at 11 kilograms. Never, never, drop it as it will damage the bearing assembly.
